Got Air? In your suspension?
The importance of properly setting the air in your suspension each time you ride.Michael SeffrenPublished on August 29, 2023

Hey fellow riders,
Today, I want to talk about something that might seem simple but holds immense power in transforming your biking experience – the importance of setting the right air pressure in your suspension. Now, I'm no biking expert, but I recently had an eye-opening revelation that I believe is worth sharing.
A few days ago, I hit the trails at Cottage Grove Bike Park (CGBP) with my trusty 8-year-old Diamond Back Mission 1 All-Mountain bike. I was excited but soon found myself struggling to keep up, even on the green line. I watched 9-year-olds cruise past me effortlessly, and I couldn't help but feel a bit embarrassed. This situation hit me harder, especially as someone who's trying to make a mark in the biking industry by creating an indoor mountain biking park.
But here's the kicker – my struggle wasn't just limited to that day at CGBP. It had been going on for a few years. I always thought it was just me – either I was weak or my form was off. It was disheartening to see my buddies revel in the adrenaline rush that I so desperately wanted. It felt like I was at a dead end with no way out.
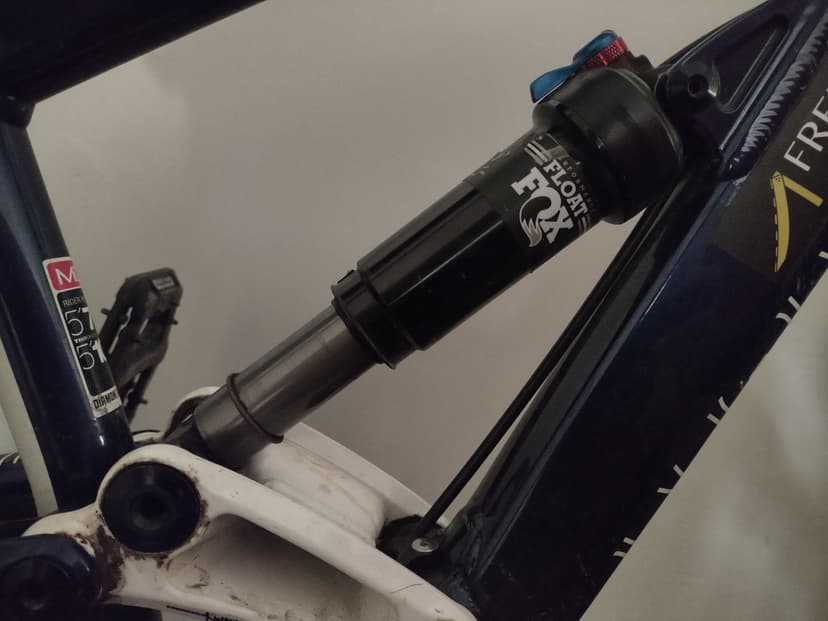
Then, fate stepped in, and I met Trevor Crawford, one of the founders of CGBP. He saw my plight and decided to help. He not only guided me through the techniques but also towed me into the line. After some attempts, he asked me a question that changed the game – "What's your 'sag' at?" I had no answer because I had no clue what he was talking about. Trevor then explained it to me, and after checking, I realized my rear shock was at a 60-70% sag – far from the optimal range for having a good time.
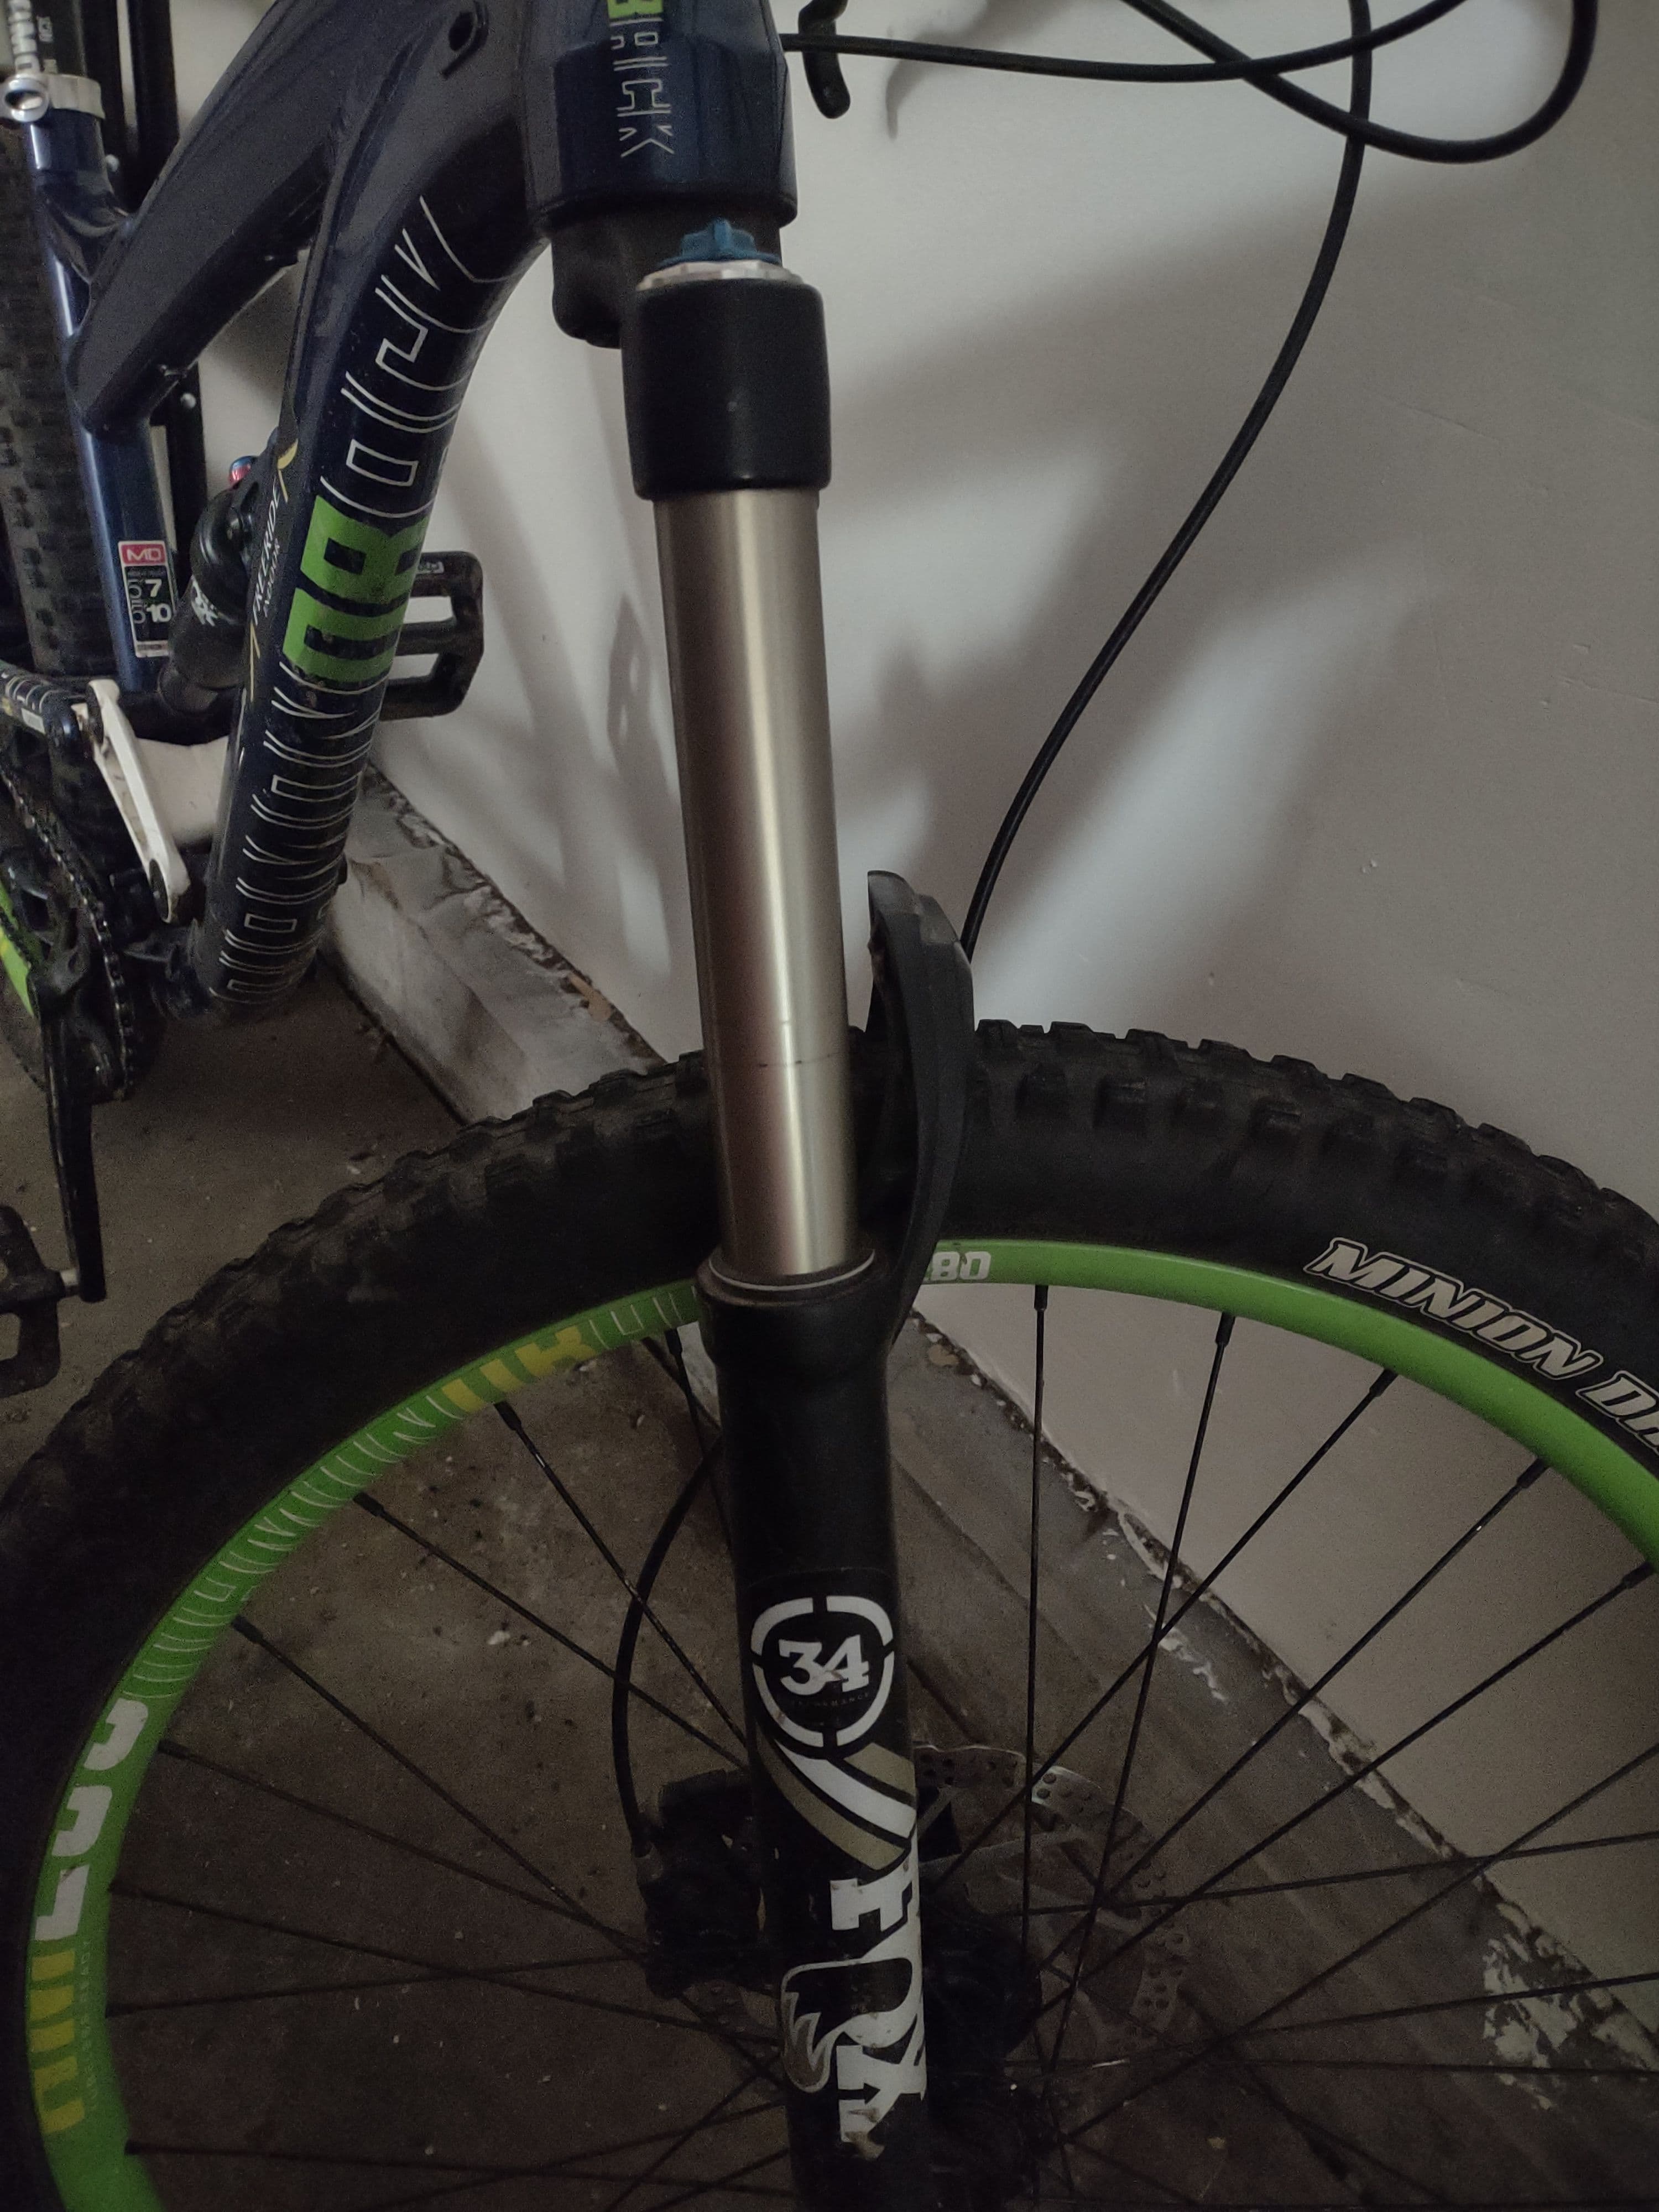
Despite feeling a bit discouraged, I left that day feeling empowered with a solution. The following week, I headed to White Tail Ridge with my friends. I made sure to set my shocks right – around 80 PSI in the front and approximately 150 PSI in the rear. And let me tell you, the difference was nothing short of astounding.
